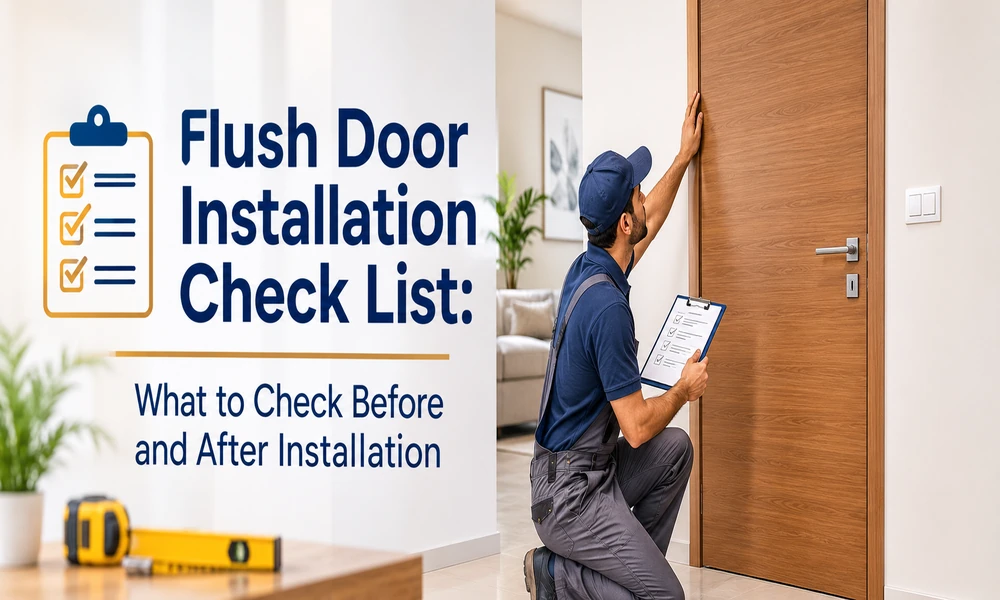
Before fitting your flush door, take time to check the measurements and also inspect the door and frame for any defects.
Before you begin installation, check the door and frame.
1. Measure the door size.
It is important to measure the height, width and thickness of the door first. You want to make sure that the door will fit into the frame with enough space to open and close.
Then be sure to look for any obvious defects in the door such as:
- Any scratches or dents, damages to the corners
- Edges or surface irregularities that are chipped
- Signs of warping twisting
- Other visible defects like loose layers of the door
Be sure to examine the door for defects before installation, since concealing any damage with finishing is not a good practice.
2. Inspect the door frame
The frame must be level, plumb and securely fixed, ideally with square corners. Check out for bumpy surfaces
3. Check where to place the hinges and hardware
Check that all hinge positions are correct on frame with reference to the weight and type of door used. Also ensure that the handle, lock and latch positions are correct.
With proper marking, it’s possible to avoid unnecessary drilling and prevent door damage.
Fitting: Alignment and Installation Matters
Having checked as required, the installation should now be carried out by giving proper attention to the door position, installation and securing of the hinges.
4. Checking the Door Clearances
Once the door is in place into the frame, it’s essential to check all the clearance gaps for the bottom, top and sides. The clearances that need to be present will depend on the frame, floor, hardware and manufacturer’s recommendation.
The door should never touch the frame or floor surface, and if that is the case one should take their time to measure it before trimming the door. Too much cutting might ruin the aesthetics of the door.
5. Installing Hinges and Hardware
Make sure to install the hinges securely and be sure that the door is properly supported. Also, make sure to check that the hinges and screws match the type of hardware used.
6. Protect the Edges and Finish
During the installation process, the door’s edges and finish are extremely susceptible to damage due to cutting, drilling and moving. Any part of the door which gets cut or damaged needs to be finished according to the manufacturer specifications.
When moving doors, do not force them into the door frame or drag them across the floor. This will not prevent edge damage, but will minimize the risk of chipping, scratching and other damages.
After Installation: Test the Door’s Operation
Even after careful installation, the door may still develop problems. To ensure that the doors function properly, it is better to test them when they are in the frame.
7. Conduct Opening and Closing Test
Open and close the door several times and observe how its operation is going. Check whether it runs properly and smoothly.
Make the following checks:
- Ensure that the door is firmly kept in place by hinges.
- Check any gaps around the door are uniform.
- Verify that door does not touch the floor or the door frame.
- Ensure that latch works as it should.
- Verify that you do not have to use excessive force to turn the handle.
In case the door is stuck or not closing properly, check the alignment and hardware anyway before taking any further measures.
8. Check Final Appearance
Watch the door from various angles and under various light conditions. Check the door for scratches, chips, uneven coating, and possible gaps through which the air can flow due to improper installation.
Also check the frame and the surrounding wall for any signs of damage.
Common Mistakes in Installation
In most cases, it is possible to avoid such problems by having a look at some points and keeping the doors in place.
- Incorrect measurements: Bad fitting of the door or having to cut too much.
- Misaligned frame: Uneven gaps between the structures or inability to close them properly.
- Wrong hinge positioning: Reduction of potential door’s mobility.
- Not suitable hardware: Loose fittings and problems with functioning.
- Too much of trimming: Damage of the finish.
- Final test skipped: Problems discovered later.
Choosing Flush Doors for Your Needs
Make sure you consider the doorknob type, overall dimensions, the way it is finished and its future usage.
Flush doors produced by Royale Touche will be a good choice for rooms where you need to make the gap as small as possible between the door and the wall. Just like in many other situations, flush doors should be used to suit your needs and regularly maintained in order to function properly.
Conclusion
Reliable installation of flush doors involves checking the door and frame beforehand, correct positioning of hinges and appropriate measures taken to ensure that no damage will occur during cutting or installation, testing the flush doors.